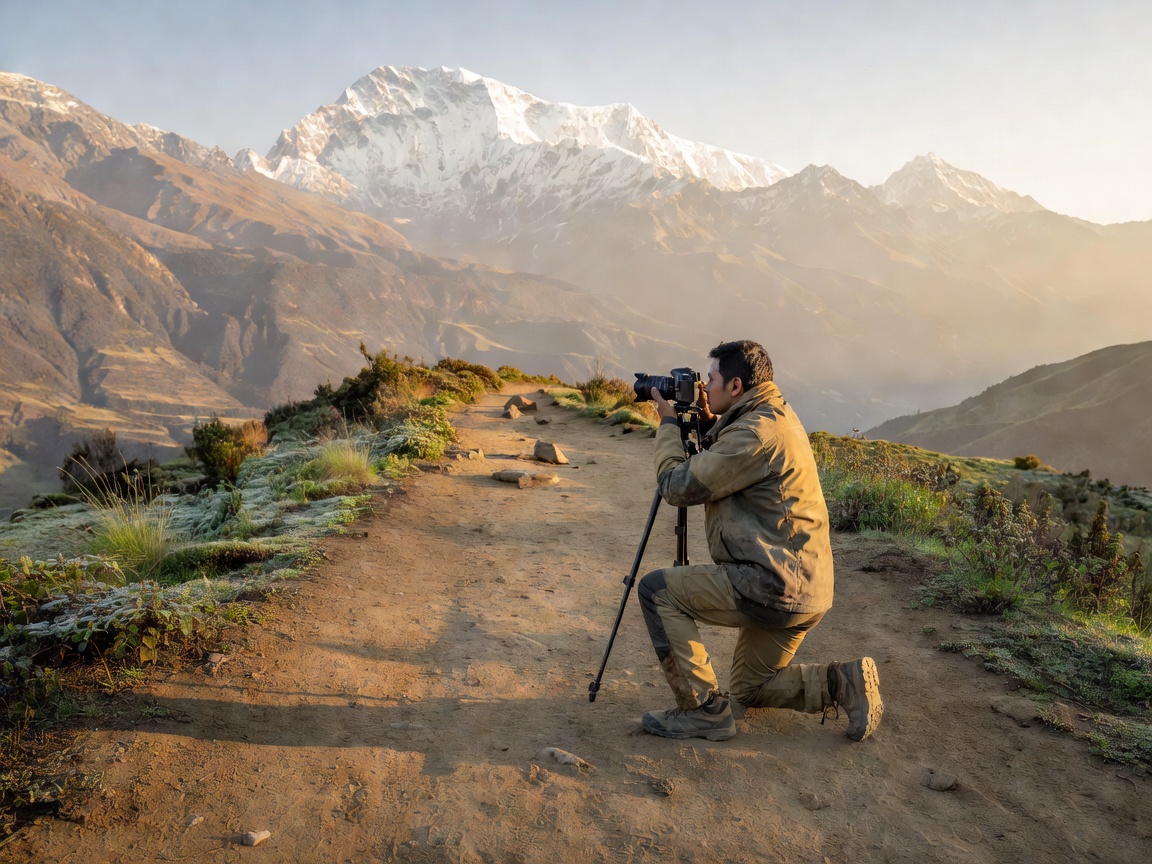
Mountain photography rewards preparation, but it also rewards the willingness not to make a picture. Weather, fatigue, altitude and group responsibilities matter more than an image. This guide concerns photographic decisions, not technical mountain travel. Read camera settings as starting points to test from a suitable location, never as instructions to move closer to ice, climb an unassessed slope or remain outside when conditions are deteriorating.
01 Decide what the frame should explain
Choose one clear subject relationship: a glacier within its valley, debris over ice, a moraine beside a settlement, or the changing light across a mountain wall. A wide view can establish geography, a middle-distance frame can show structure, and a detail can reveal texture. Together they usually communicate more than a sequence of summit portraits. Keep enough context to distinguish the feature you are describing.
Scale deserves particular care. A person can help viewers understand dimensions, but never ask someone to approach a crevasse, ice cliff, lake edge or unstable ridge for the composition. Use existing contextual elements where possible. Ask permission before making identifiable portraits, and respect a refusal without negotiation. Local residents, guides and porters are not props for an expedition narrative.
02 Protect information in bright snow
Snow and shaded rock often exceed what a camera can capture in one exposure. Review the histogram and highlight warnings rather than trusting a bright rear screen. If the snow is the important subject, reduce exposure when necessary to retain meaningful texture. Some meters render large snowfields too dark, so positive exposure compensation can sometimes help—but there is no universal adjustment. Metering mode, light and the proportion of snow all influence the result.
RAW capture can preserve editing flexibility if your camera supports it. It does not recover every clipped highlight or replace sound exposure. Bracketing may help with a static high-contrast scene, but moving clouds, people or handheld frames can complicate merging. Where a merged image is presented as documentary evidence, explain the technique.
03 Work with available mountain light
Low-angle light can reveal moraine ridges and surface relief through shadows. Overcast conditions can soften contrast and make subtle snow textures easier to handle. Midday light may be less flattering but still useful for geographical records. Do not organise an unsafe departure or delay a group solely for golden-hour colour. The most appropriate light is the light available within a responsible plan.
Cold conditions can reduce practical battery performance. Carry a protected spare and follow the equipment manufacturer’s temperature guidance. Avoid changing lenses where wind-driven dust or precipitation can enter the camera. When moving equipment between cold and warmer humid environments, manage condensation cautiously rather than repeatedly exposing cold surfaces to moist air. Simple, familiar equipment often works better than a complicated kit you cannot operate comfortably.
04 Keep the field record honest
Record the date, region, approximate viewpoint, viewing direction and relevant weather. If a location is uncertain, say so instead of attaching a famous glacier name to a nearby snowfield. Do not publish sensitive location details where doing so could increase ecological pressure, compromise research equipment or encourage entry into restricted terrain.
Editing should support the purpose of the image. Adjusting tone and white balance may improve readability; removing a glacier margin, adding snow or changing the scale of a mountain alters geographic meaning. Label composites and substantial alterations clearly. Repeat photography requires even greater discipline: similar viewpoint, focal length, framing and seasonal context help comparisons, but do not by themselves establish changes in total glacier mass.
05 Leave less behind than the image suggests
Keep tripods, bags and people clear of narrow trails. Do not move stones, damage vegetation or cross barriers to simplify a foreground. Drones may require permits and can disturb wildlife, communities and other visitors; permission must be checked locally rather than assumed. Photograph research activity only with consent, without touching markers or interrupting measurements.
Before sharing, write a caption that separates location, observation and interpretation. “Debris-covered ice visible below the valley wall” is more useful than an unsupported claim that a glacier is disappearing at a particular rate. Continue with Reading Glacier Change to understand where photographs fit within wider evidence, or revisit responsible destination planning before preparing a trip.